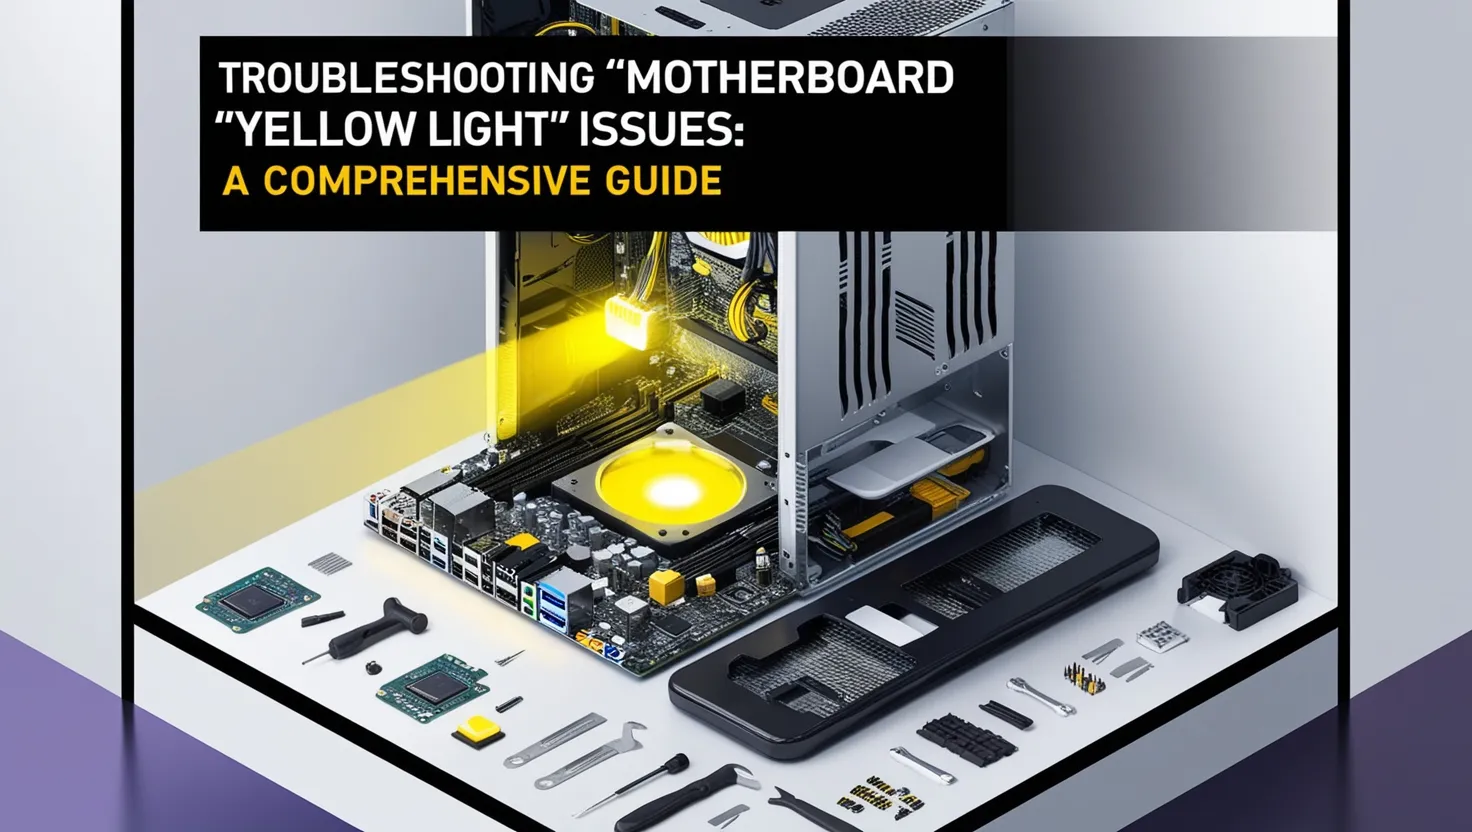
Troubleshooting ‘Motherboard Yellow Light’ Issues: A Comprehensive Guide-Seeing the motherboard yellow light can be an alarming experience, especially when your computer fails to start or behaves unpredictably. A yellow or amber LED on the motherboard often signals an underlying problem with the system’s hardware or power components. Understanding the root cause of the motherboard yellow light error can save you a lot of time and frustration. This comprehensive guide will walk you through the common causes of this error and how you can troubleshoot and fix it.
What Does the Motherboard Yellow Light Indicate?

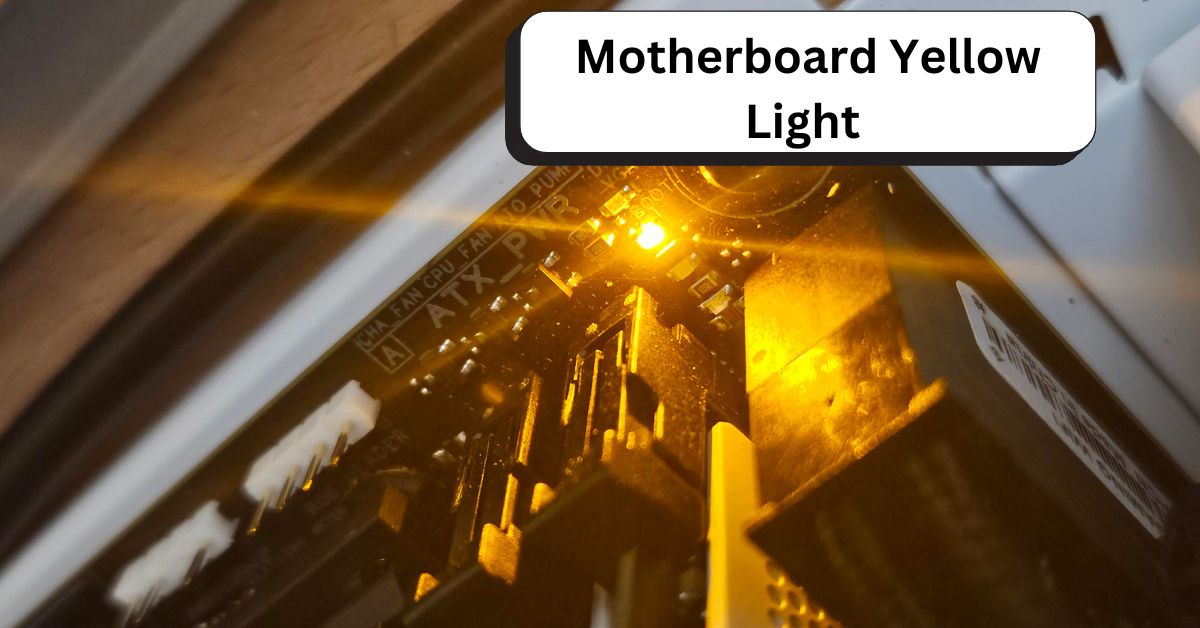
The motherboard yellow light is typically a diagnostic indicator used by motherboard manufacturers to signal specific issues with the system’s hardware or power supply. This yellow light can appear in various situations, and while it varies slightly depending on the motherboard model, it generally points to an issue with power, the processor, memory, or other connected components.
In most cases, a yellow light will appear during the startup process or immediately after powering on the computer. If your motherboard’s yellow light is on, your computer may fail to boot properly, or you may experience system instability.
Common Causes of the Motherboard Yellow Light Error
The motherboard yellow light error can have several potential causes. It’s important to understand the most common ones to effectively diagnose and resolve the issue.
1. Power Supply Problems
A faulty power supply unit (PSU) is one of the most common reasons behind the motherboard yellow light. If your PSU isn’t delivering adequate or consistent power to the motherboard, it could cause the system to fail during the boot process.
Sometimes, issues like power surges or power supply failure can cause an improper voltage to reach the motherboard, triggering the yellow light indicator. Loose or damaged power cables can also contribute to this issue.
2. Loose or Improper Hardware Connections
Another frequent cause of the motherboard yellow light error is loose or improperly connected hardware. It’s essential that all the components, including the CPU, RAM, graphics card, and storage devices, are securely connected to the motherboard. A single loose cable or improperly seated component can prevent your system from starting properly.
This is particularly common when installing or upgrading new hardware. Ensure that all connections are firm, including the CPU power cables, 24-pin ATX cable, and any other essential cables. (Read More: AMD Ryzen 7 vs. Competitors: Which One Stands Out in Performance?)
3. Faulty RAM or Memory Modules
Faulty or incompatible RAM can also be a reason behind the motherboard yellow light. If your system cannot properly detect the memory or if one of the memory modules is malfunctioning, the motherboard may display a yellow light as a warning.
Sometimes, this issue may arise from improperly seated memory sticks, especially after upgrading or moving components. In other cases, the RAM itself could be faulty or incompatible with your motherboard.
4. Overheating or Thermal Issues
Overheating is another potential cause of the motherboard yellow light error. If your CPU or other components are running too hot, the motherboard might detect this as a critical issue and trigger a yellow warning light.
Poor airflow, dust buildup, or malfunctioning cooling fans can lead to higher temperatures, which may cause your system to fail to boot. Excessive heat could also prevent certain components from functioning properly, resulting in errors like the motherboard yellow light.
5. BIOS/UEFI Configuration Problems
A corrupt or outdated BIOS can lead to startup problems, including the appearance of a motherboard yellow light. If the motherboard cannot properly read or execute the firmware instructions, it may fail to boot and trigger a yellow light error.
Sometimes, specific settings in the BIOS can also cause booting issues. For example, if the boot order is incorrect or the motherboard isn’t properly configured to detect certain hardware, it may fail to initiate properly.
How to Troubleshoot the Motherboard Yellow Light
Now that we’ve covered some common causes of the motherboard yellow light, let’s go over how you can troubleshoot and fix the issue.
1. Check the Power Supply Unit (PSU)
If you suspect that the power supply unit is at fault, start by checking if the PSU is working properly. First, make sure that all power cables are securely connected to both the motherboard and PSU. The 24-pin ATX cable, as well as the 8-pin CPU power cable, should be firmly in place.
You can also test the PSU using a PSU tester, or if you have access to another working PSU, swap it into your system to check if the problem persists. If the motherboard yellow light disappears after changing the PSU, you likely have a faulty power supply. (Read More: Why Is My Motherboard Light Orange?)
2. Reseat and Reconnect Hardware Components
Loose or improperly seated hardware is a frequent cause of the motherboard yellow light error. Start by turning off the computer, unplugging it from the power source, and then reseat all internal components, such as the CPU, RAM, and graphics card.
Remove and reinstall the RAM sticks, ensuring that each one is securely locked into place. Check the CPU for any bent pins or thermal paste issues. If your motherboard has additional expansion cards (such as a GPU), make sure they are properly seated in their respective slots.
3. Test the RAM
If you suspect that the RAM might be the issue, try testing it one stick at a time. Remove all but one RAM module and attempt to boot the system. If the yellow light persists, try swapping the memory modules to see if one is defective.
In addition to testing each module, check the compatibility of the RAM with your motherboard. If you’re using high-performance RAM, verify that your motherboard supports the speed and type of memory you’re using. If necessary, replace the faulty memory module with a compatible one.
4. Inspect Cooling and Overheating Issues
Overheating can cause various issues, including the motherboard yellow light. Check your cooling system, including CPU fans, case fans, and any other cooling solutions you may be using. Ensure that the fans are operating correctly and that the airflow inside the case is adequate.
If you notice excessive dust buildup, clean the fans and vents to ensure proper airflow. You may also want to reapply thermal paste to the CPU, as dried-out thermal paste can lead to poor heat dissipation. If necessary, upgrade your cooling system to one that offers better airflow and temperature control.
5. Reset the BIOS/UEFI Settings
If you suspect that the BIOS or UEFI firmware is causing the motherboard yellow light error, try resetting it to default settings. You can do this by removing the CMOS battery on the motherboard for a few minutes and then reinserting it. This will reset the BIOS to its default configuration.
Alternatively, many motherboards have a dedicated jumper that allows you to clear the BIOS settings without removing the battery. Refer to your motherboard’s manual for instructions on how to perform this reset.
If resetting the BIOS doesn’t resolve the issue, you might need to update the firmware. Check the motherboard manufacturer’s website for the latest BIOS version and follow the instructions to update the firmware. Be cautious when updating the BIOS, as an improper update can cause further issues.
6. Inspect for Physical Damage or Defects
If none of the above troubleshooting steps work, inspect the motherboard for any visible damage. Look for signs of burnt areas, damaged capacitors, or other physical defects that could be causing the yellow light.
If you find any damaged components, it may be necessary to replace the affected part of the motherboard or, in some cases, replace the entire motherboard if the damage is severe. (Read More: Motherboard Light Orange: Causes and Fixes)
When to Seek Professional Help
If you’ve followed these troubleshooting steps and the motherboard yellow light remains, it might be time to seek help from a professional technician. Some motherboard issues are complex and may require specialized knowledge or equipment to diagnose and fix.
A professional technician can perform more advanced diagnostics, identify hard-to-find issues, and ensure that your computer is repaired correctly. If your motherboard is still under warranty, consider contacting the manufacturer for assistance before attempting any repairs yourself.
By carefully troubleshooting the motherboard yellow light issue and following the appropriate steps, you can often identify and resolve the underlying problem without resorting to costly repairs or replacements.